
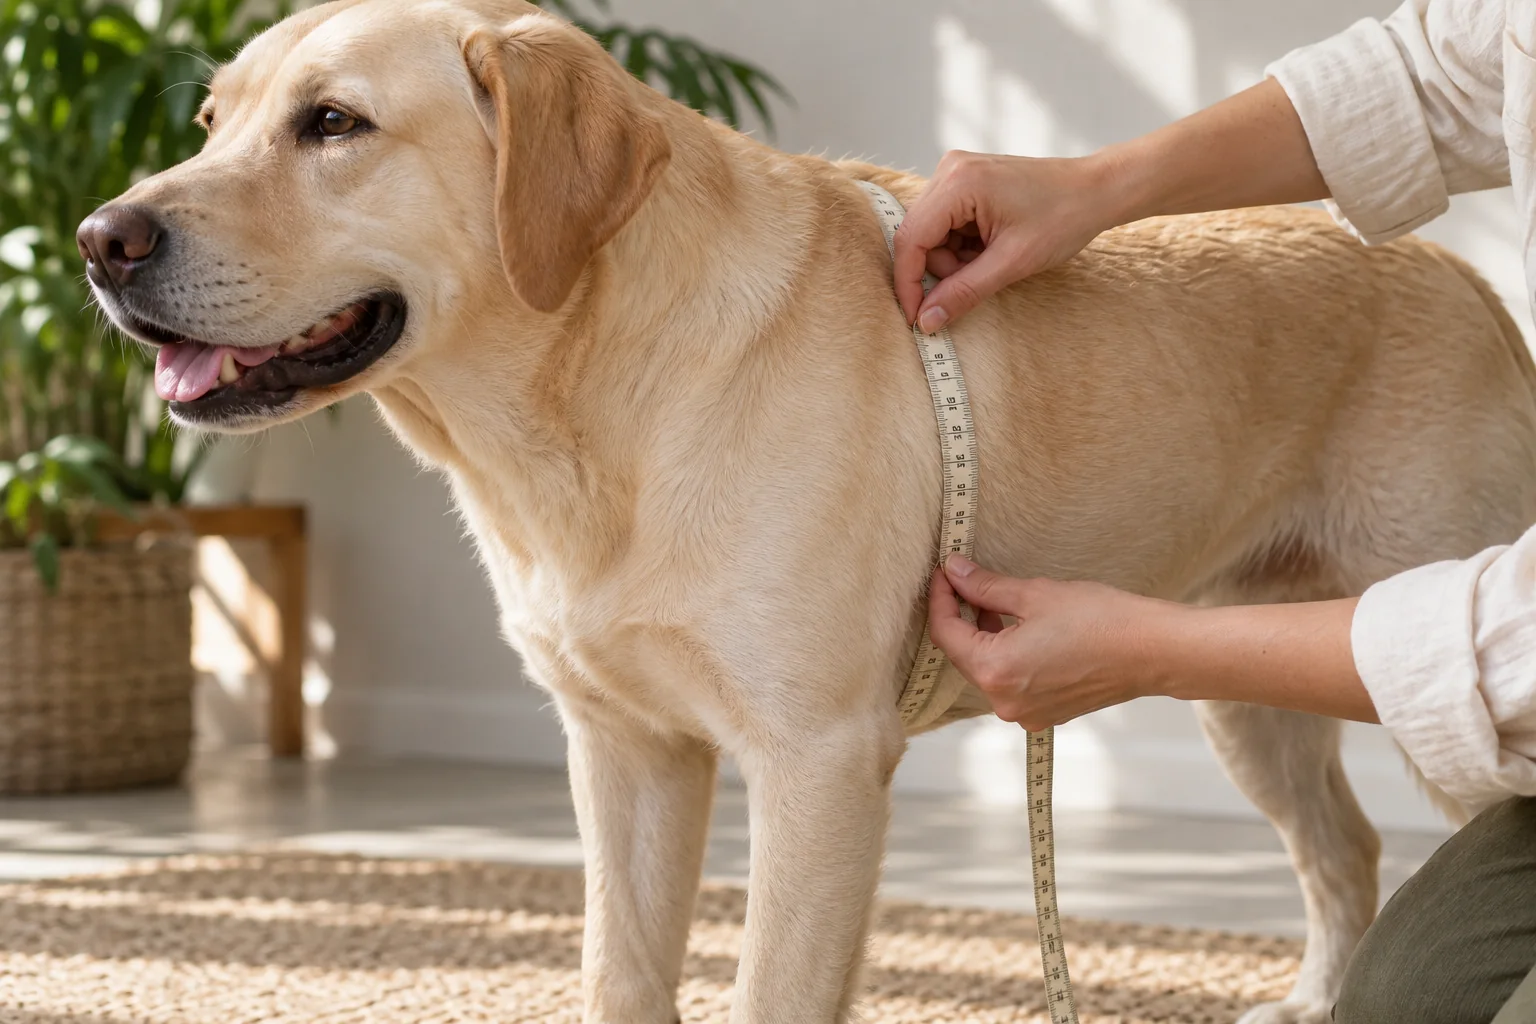
Record the dog measurements consistently
For fit assessment, measure the dog standing naturally. Record neck circumference at the position relevant to the collar or harness design, and chest girth around the widest part of the rib cage, usually behind the front legs. Follow the fit instructions for the specific product.
The American Kennel Club’s measuring guide explains that sizing varies by brand and product. For a sourcing project, this means a label such as “M” needs an accompanying set of dimensions. Breed and body weight can add context, but should not replace the required measurements.
Define body size and finished size separately
| Measurement | Define it in the specification |
|---|---|
| Dog neck circumference | Where the tape sits on the dog and how fitting allowance is handled. |
| Dog chest girth | The body location and measurement procedure used for the intended harness. |
| Collar adjustment range | Minimum and maximum usable closed circumference. State the closure and measurement method. |
| Harness adjustment range | Neck and chest ranges, plus relevant front, back or connecting strap dimensions. |
| Webbing or padded width | The exact component and location to measure; distinguish webbing width from total padded width. |
| Production tolerance | Permitted variation for each dimension and the agreed method for checking it. |
A flat strap length, a closed collar circumference and a dog’s neck measurement are different values. Label them clearly on the drawing and on the customer-facing chart.
Use one master unit and control conversions
Choose centimeters or inches as the master unit in your development specification. If your retail chart displays both, convert from the approved master values. One inch equals 2.54 centimeters. Apply a consistent display precision and check that rounding does not change which size is recommended at a boundary.
Mark tolerances separately from the nominal dimension. Avoid silently adding a fitting allowance during conversion: if the chart uses body measurements, describe the fit method once and apply it consistently. The production drawing can use a different level of precision from a consumer chart.
Develop the complete size range
- Define the reference size. Record the target body measurements, product dimensions and construction.
- Draft each remaining size. Review strap width, hardware, padding and adjustment range for each size instead of enlarging every component by one percentage.
- Check boundary coverage. Review where ranges overlap and where the intended customer sizes are not covered.
- Review the samples. Check dimensions and fit on appropriate dogs under supervision, following the product’s fit instructions.
- Approve the chart and drawing together. Keep the approved sample, revision and measurement record aligned.
A different buckle, thicker padding or a revised strap route can change usable dimensions. Recheck the affected size range when those components change.
Keep a practical sample approval record
Record the sample ID, style, labeled size, measured dimensions, drawing revision, date and reviewer. Photograph the measurement points so a second person can repeat the method. Note which dimensions passed, which need adjustment and whether another sample is required.
For a collar and harness sold in a walking set, specify their size pairing. A harness labeled “M” does not automatically pair with a collar labeled “M” if their actual fit ranges differ.
Send the chart with your RFQ and include its inspection points in the quality plan. Review the harness range and collar range to choose the construction that the chart will describe.
References
External references explain the topics noted above; they are not test reports for HUIJIA products.